On a recent visit to my grandmother’s house, I received a special canning request. My grandmother had a couple of apple trees that were full of ripe apples, and she wanted apple butter. Normally, my grandmother makes my family apple butter, applesauce, and canned apples, and she gives them to family members for Christmas. I look forward to it, knowing that she puts time and love into making each jar. I had never made apple butter before, but my friends and family love the peach butter I share each summer. I gladly took on the challenge and went home with an entire box of apples. I was both excited and overwhelmed when I looked at the box filled with over 20 pounds of apples. When I got home, I immediately began searching for tips on how to make processing all of these apples a little easier. What I found was having an apple peeler, corer, and slicer, along with a crock pot, made this recipe extremely easy. I hope you think so, too.
Ingredients:
- one dozen apples
- 1/4 cup of honey
- 1/4 cup of brown sugar
- 1 tbsp ground cinnamon
- 1/2 cup of water
- dash of all spice or nutmeg
Yield: ~4 8oz. mason jars
Directions:
- Wash all of your apples. Begin the process of peeling, coring, and cubing your apples. (If you have an apple peeler that slices your apples, it will work just as well as dicing the apples.) Discard the peels and cores (unless you plan to make some apple jelly with it).
- Take all your apple slices and pieces, and toss them straight into your crock pot.
- Toss in all the remaining ingredients and stir.
- Set your crock pot on low and cook for 8 hours.
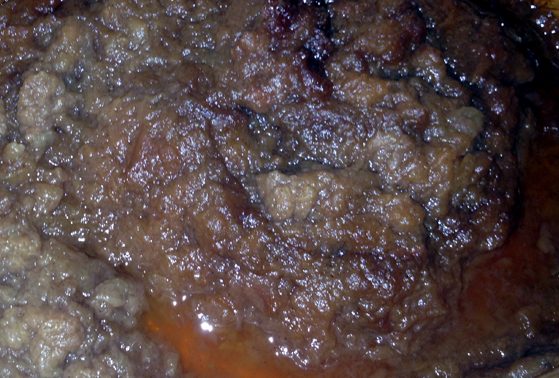
- After 8 hours, stir the apples and see how they are beginning to breakdown. Some apples are more dense than others and may take a little longer to cook.
- Prop the lid to your crock pot open and turn it up to high. Allow the apples to cook for a few more hours. They will cook down and thicken up even more. It should take a total of 10-12 hours to cook the apples down.
- Once your apples have cooked down, and you know the end is near, start heating your mason jars in a hot water bath.
- Pull out a large stockpot and fill it with water.
- Separate your mason jars from the lids and rings.
- Add the mason jars you plan to fill with your apple butter into the water bath. Allow the jars to heat with the water.
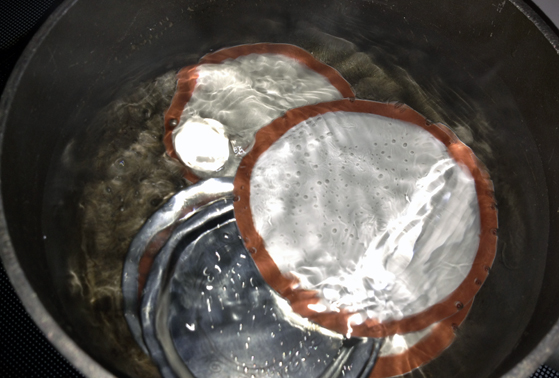
- Take the lids and add them to a small pot of warm water. Set the rings to the side on the countertop. They do not need to be heated.
- Bring both the jars and lids to a low boil for at least 10 minutes.
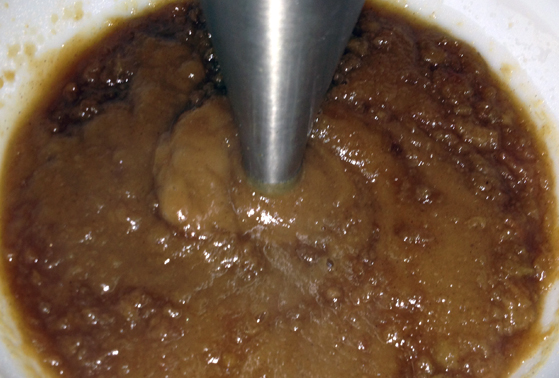
- At this point you have options. Don’t you just love options? You can put the apple mixture in the jars, as is, if you like chunky apple butter, or you can smooth it down with an immersion blender. I chose to blend mine down because I love smooth, apple butter. First, you have to resist the temptation to eat the cooked apples straight from the crock pot. Believe me, your entire house will smell like apples and it will be hard to resist.
- Pull your mason jars out of the hot water bath and place them on a clean towel, on your countertop. Line them up, in preparation of being filled.
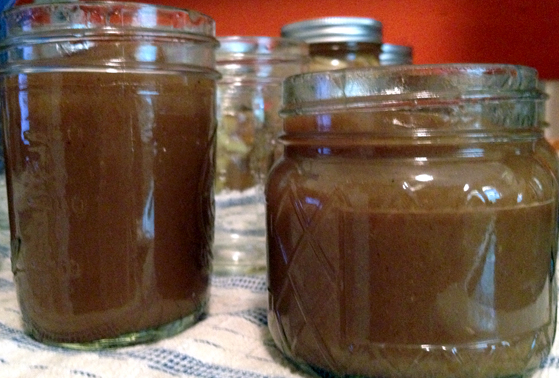
- Using your mason jar funnel, fill each jar with the warm, apple butter. Make sure to leave a half inch headspace in each jar.
- With a clean towel, wipe down the rim of the jar to make sure no food is coming between your jar, your lid, and/or the ring.
- Pull your hot lids out of the pot, and without touching the underside, place the lids on top of each jar.
- Screw your rings on the jars, making sure to not over tighten the jars.
- Place the sealed jars back in the large stock pot of hot water. Process the jars for 10 minutes.
- Remove the jars from the hot water bath. Wipe down the jar again, with a clean towel, to ensure no water is left on the outside of the jar.
- Place the jar on your towel covered countertop to cool.
If you have any apple butter left over, you can use it immediately or place in a small, covered, dish in your refrigerator. Consume what you’ve placed in this side container within a week. (That shouldn’t be hard once you try it.)
Within minutes of being placed on the countertop, you can expect to begin to hear the glorious ping of your jars sealing. Some jars may take longer than others to seal. I usually give mine 24-48 hours (depending on my level of patience) before I check their seals.
To check a jar’s seal to see if it is properly sealed for storage:
*Wait 24-48 hours to do this. Be prepared to refrigerate or use whatever does not seal properly, as explained in the previous step.
Remove the ring from the mason jar. Observe. Does the jar top move without the ring in place? If so, the jar has not sealed properly and must be placed in the refrigerator and consumed in the next week. If the jar top stays firmly in place and gives resistance to movement or removing, then you have successfully canned your apple butter.
I add this extra tip about whether your jars have properly sealed because I recently had a few jars that appeared, at first glance, to have not sealed. Upon taking this further step to remove the jar ring and check the lid’s seal, I found that all the jars in question were properly sealed.


So what is the shelf life of the jars? I am new to canning. And this looks fantastic. A must try I am thinking.
Hi Crystal, the FDA guidelines say to consume items like this within a year of the processing date. This recipe is so easy and delicious, I do hope you have the opportunity to try it. The hardest part of the recipe is resisting the urge to nibble on the apples as they cook, and the peeling/coring/chopping of the apples.
I would love to know shelf life as well! New to canning, I have already made one batch and it’s awesome!
I want to make some as gifts for Christmas.
The FDA recommends eating within a year of the process date for any items that are home canned/jarred, and that’s my official “follow the guidelines” answer.
Besides the FDA recommendation, it is a personal choice when consuming homemade items (especially when you’ve made them yourself).
I love fall. Apples just seem like fall (even though they are available all year). We have a bowl of apples in the center of our dinner table for “anytime” snacks. But as the weather cools, apple recipes are fun because I don’t mind putting the oven on, and I love the smell of apples cooking.
I do too! (Love the smell of apples cooking) I usually have apples and bananas as free-choice snacks too but Mmmmmm…..apples and cinnamon…..
*sigh*
haven’t made this in a long time. I need to start again – it makes the house smell so good! Thanks for the reminder.
Items that are canned properly are recommended to be eaten within a year of the date they were processed.