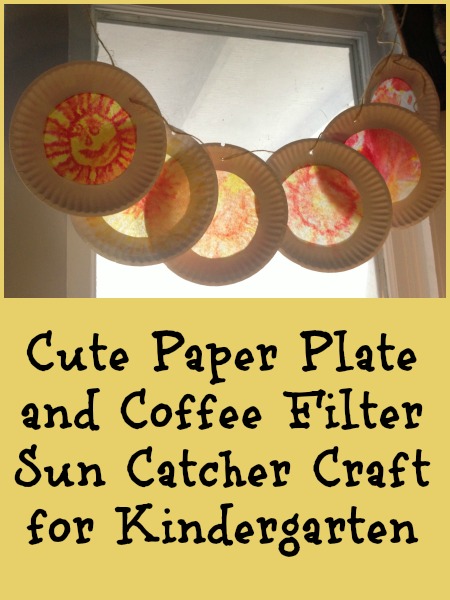
We are studying the sun in school lately with My Father’s World Kindergarten Curriculum. Here’s a fun craft we made – simple, inexpensive, and fun for the kids so it’s perfect for indoor fun. The cooler it gets outside, the more I love seeing these cheerful suns in the window. 🙂
What you need for the Sun Craft:
- Washable markers of a variety of colors (we used lots of yellows, oranges, and reds)
- Coffee Filters
- Cheap Paper Plates (the easy-to-cut thin ones are great)
- A spray bottle of water
I used an x-acto knife to cut the plates, but you can use scissors if you don’t have the blade.

How to Assemble Your Paper Plate Sunshine:
These are super simple to make but they do require either two days, or two crafting sections.
1. Give each child a coffee filter, spread it out into a circle, and let them color it. We found that the suns with the most color, it would be brighter once we sprayed them. Also realize not the full filter will show so encourage the kids to focus their coloring efforts on the center of the filter.
2. Once the filters are completely colored in, take them outside or lay them in a cake pan. Spray them lightly with a misty spray until they are damp but not dripping.
3. Let the filters dry. As they do so, the markers will run together turning the hard lines of their coloring into soft swirls and colors. Pretty!
4. While the filters are drying, you can cut the paper plates. Remove the center of the paper plates – each coffee filter sunshine will need two plates.
5. When the filters are dry, place the open, spread out filter on top of one plate. Glue the coffee filter onto a plate frame and then glue a second plate on top. This creates a firm frame around the coffee filter.
We strung ours on a string across the living room window so it will be sun-shiney and they will glow all pretty. You could put them anywhere.


