Ingredients:
* 4 cups of cubed watermelon = 2 cups watermelon juice
* 4 cups of sugar
* 4 tablespoons of lemon juice
* 1 pouch of liquid pectin (3 oz.)
Quantity: ~4 half pint jars
Directions:
- First, start your jars and lids heating in a hot water bath. (They’ll need to heat for at least 10 minutes before being filled with the hot, jelly mixture.) I like to add my jars and lids and let them heat with the water to make sure they gradually heat.
- Next, you’ll need to extract the juice from the melon. There are several methods you could use (food processor, immersion blender, blender, juicer). I used my handheld immersion blender. I was able to keep the watermelon in a bowl, and juice it down.
- At this point you will end up with juice, some pulp, and seeds. The seeds are unavoidable, even with a “seedless watermelon” you are bound to have some small, white seeds. Again, this is where you have a few options as to how to separate the juice from the seeds and pulp. If you used a juicer, you don’t have to worry about this step because you have your watermelon juice ready for the next step. Or, you can choose to use a jelly strainer, cheese cloth, or a colander to help you separate your juice. I used a colander that had small holes, so I knew it would catch anything solid in my mixture. I strained the liquid through the colander and came out looking beautiful. The result was a bit more than 2 cups of watermelon juice. If you end up with more than 2 cups, like I did, you can do a few things with the extra juice. 1) make watermelon cocktails, or 2) freeze the excess juice to share with friends or family who may also want to try this recipe. I froze my extra juice for a friend so we could make an additional batch of this delicious jelly together.
- In a large pot, add your 2 cups of watermelon juice, lemon juice and sugar. Mix these together over medium heat. It will take about 5 minutes for the mixture to come to a complete boil. Stir constantly to make sure the mixture is heating evenly and not burning.
- Next, add your pouch of liquid pectin. Again, bring the liquid to a full, rolling boil.
- Once the mixture boils for a full minute, you can begin to test your jelly/pectin mixture. For this, I keep a small plate and spoon in the freezer as I make my jelly. Pull the plate and spoon out of the freezer and dip the spoon into the jelly, place it back on the cold plate and back in the freezer it goes. After about 5 minutes you can tell how your jelly is setting; if it’s too runny or setting just right. This is when you will decide whether or not to add additional pectin to the recipe.
- Once you’ve tested the jelly and know it’s at the consistency you desire, bring that liquid back up to a full boil again for a full minute. Pull your hot jars and lids from their hot water baths and line them up for filling. Remember, canning is all about timing.
- Begin to funnel the hot jelly mixture into your sterilized jars, leaving 1/4″ headspace at the top of the jar. Wipe the rims of the jars clean with a clean kitchen towel. Place your lid on top of the jar, add the ring and tighten.
- Place all of your jars in a hot water bath. Make sure there is at least one inch of water over the tops of the cans. Bring the water up to a low boil. Boil the jars for 10 minutes (or more depending on your altitude).
- Remove the jars from the water and line them up on your countertop to cool. Allow them to cool overnight. Keep in mind that jelly can take a few days to completely set. I usually wait at least two days before I pop a jar open, (unless it failed to seal properly).
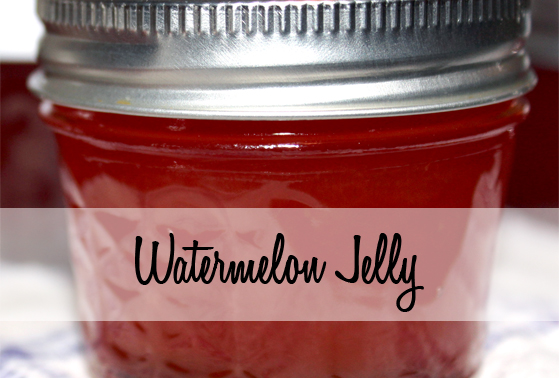
And now you have beautiful, and delicious, watermelon jelly to enjoy and share with those around you.


I use a pressure canner… do you happen to know how to use this instead of the water bath with this recipe?
Pressure canners are used in canning when you are dealing with a low acid, alkaline, food (okra, carrots, corn, meat, etc.). When dealing with high acid foods, like fruit, sugar preserves, and anything pickled with vinegar, it is safe, and recommended, to use a hot water bath method.
(*Tomatoes are one of the few items that can be processed either way.)
I only can jellies, jams, fruit butters, relish, and pickles because I do not have a pressure canner.
If you’ve only used a pressure canner when canning, try the hot water bath method. Because you have to heat your jars and lids, it makes it easy to simply transfer the jars back to the hot water bath after they are filled.
It’s recommended to only use the techniques as described in a food preservation recipe to ensure proper food storage and safety.
Thank you so much!! I will have to try the water bath. I’m making this today!! Can’t wait!!